端口使用优化
某些组织内部关于端口使用有规范要求,比如只允许开放80,8080,8000等标准化端口,而又有资源最大化利用,降低成本的初心,可以考虑通过Nginx监听80端口,根据不同的server_name分别进行转发。某些组织内部
建议结合防火墙使用,iptables添加允许本地IP进行访问,拒绝端口从外部访问:
1 | # 允许来自本地的 TCP 协议访问端口 8000 |
本篇演示两个示例。首先找到Nginx做反向代理配置目录,使用宝塔等第三方服务器构建的配置文件路径可能略有不同,通常目录为:
1 | /etc/nginx/nginx.conf |
为了条理清晰可以使用类似参数将配置文件存放在自定义目录:
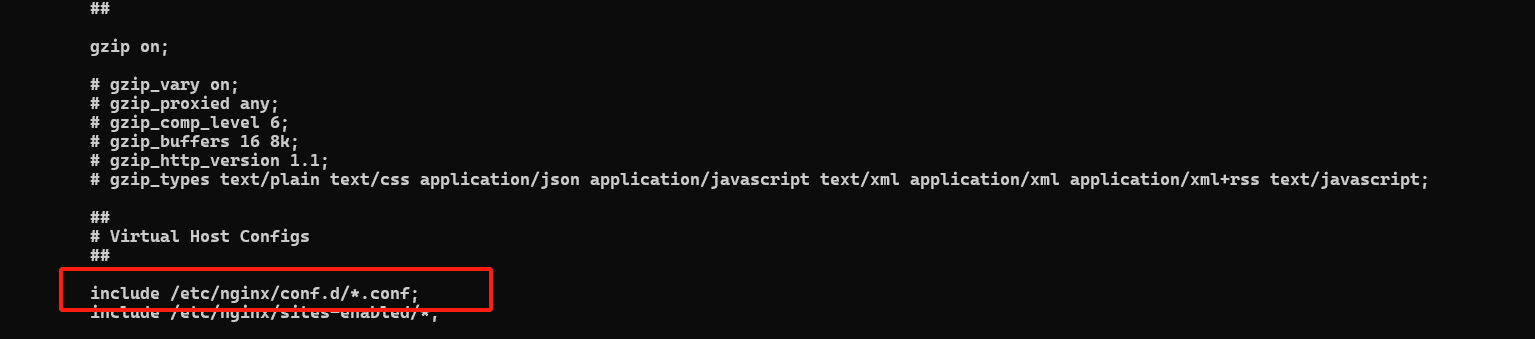
配置文件大概示例:
1 | server { |
Nginx反向代理Docker容器
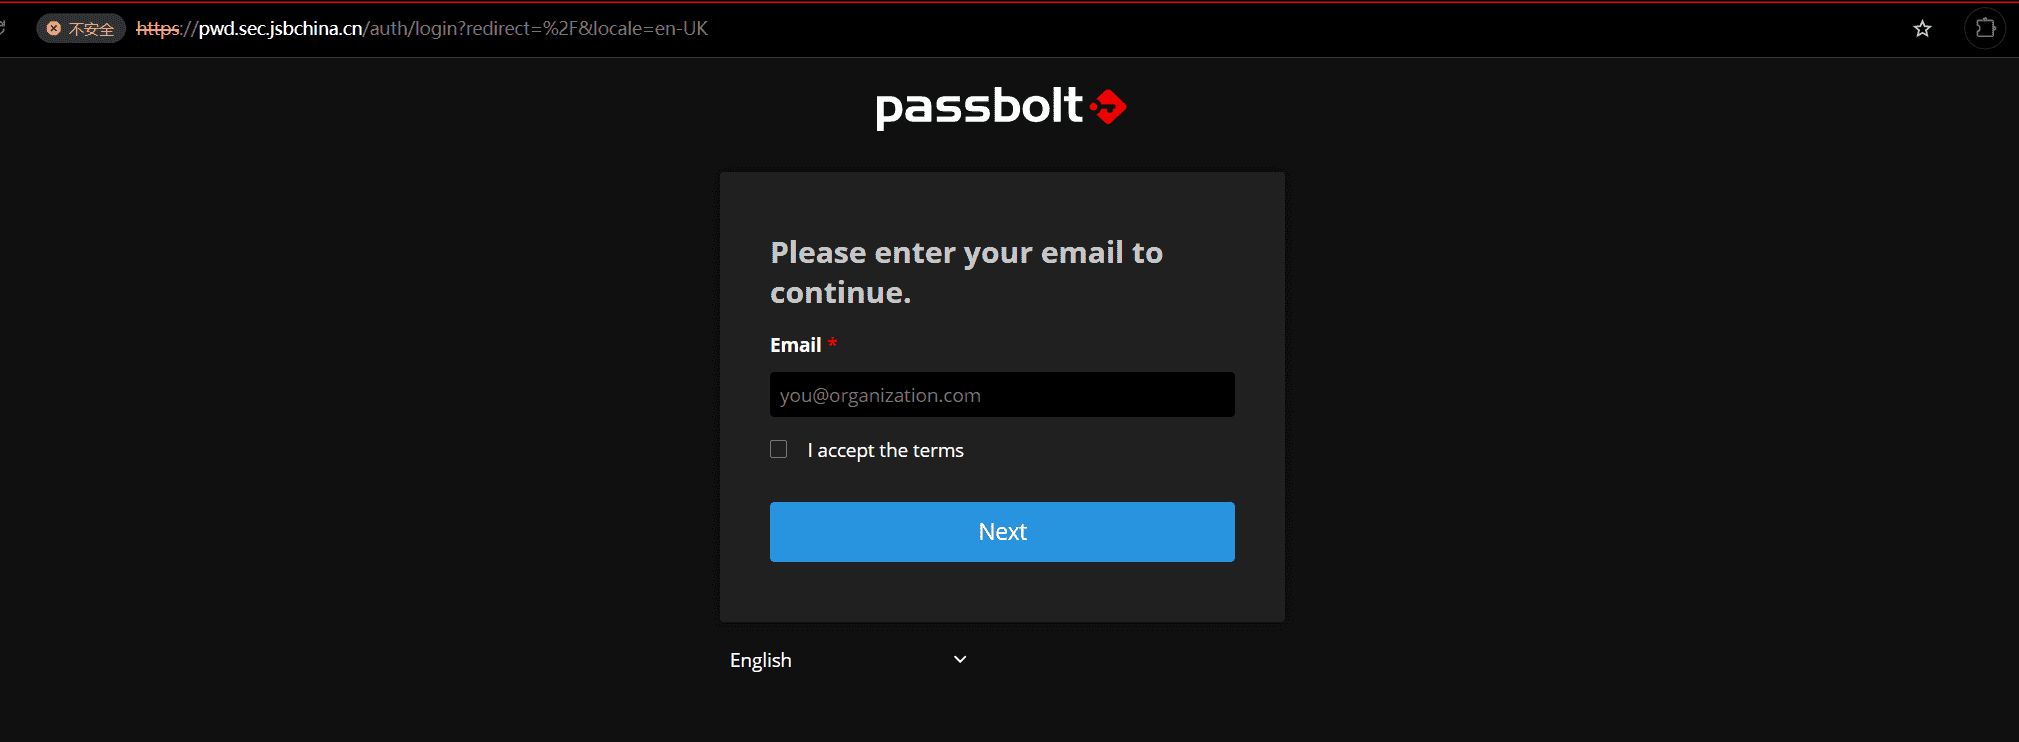
以Passbolt密码管理为例,这是它的yaml构建文件:
1 | version: "3.9" |
构建Docker容器:
1 | docker-compose -f docker-compose-ce.yaml up -d |
进入docker容器查看容器分配的ip:

将其与yaml文件中分配的域名,写进本地hosts文件中:

如果是https协议,需要使用HTTPS证书,生成证书签名:
1 | openssl genrsa -out private.key 2048 |
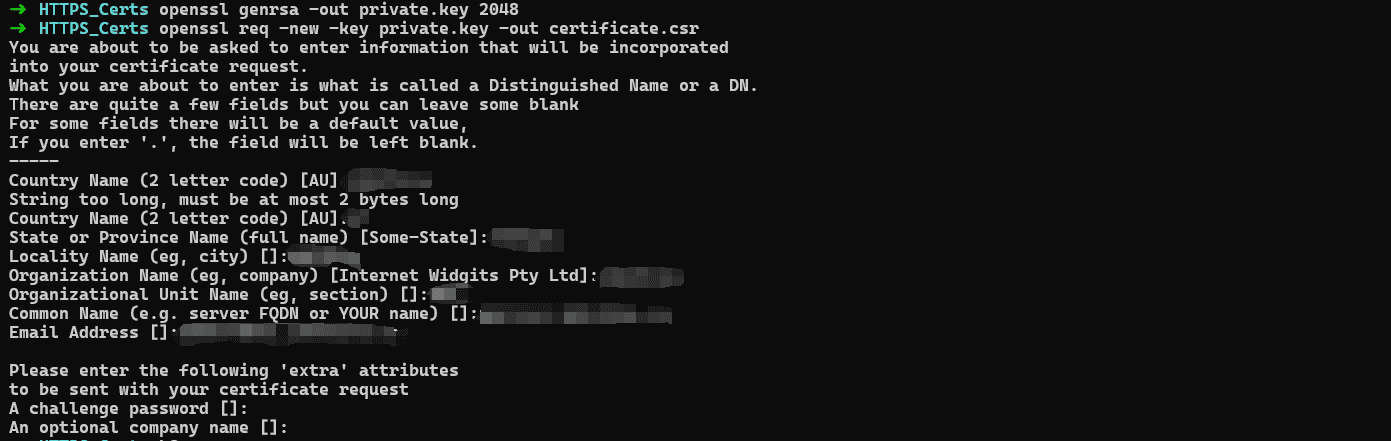
再生成自签名证书:
1 | openssl x509 -req -days 365 -in certificate.csr -signkey private.key -out certificate.crt |
构建Nginx反向代理配置文件:
1 | server { |
配置完成后更新nginx配置:
1 | sudo nginx -s reload |
然后使用其他浏览器打开:
非虚拟环境Web:
非虚拟环境Web不需要反代,直接在配置文件中新建解析就行,以Docusaurus应用为例,建议使用HTTPS协议,先生成证书签名:
1 | openssl genrsa -out private.key 2048 |
1 | openssl req -new -key private.key -out certificate.csr |
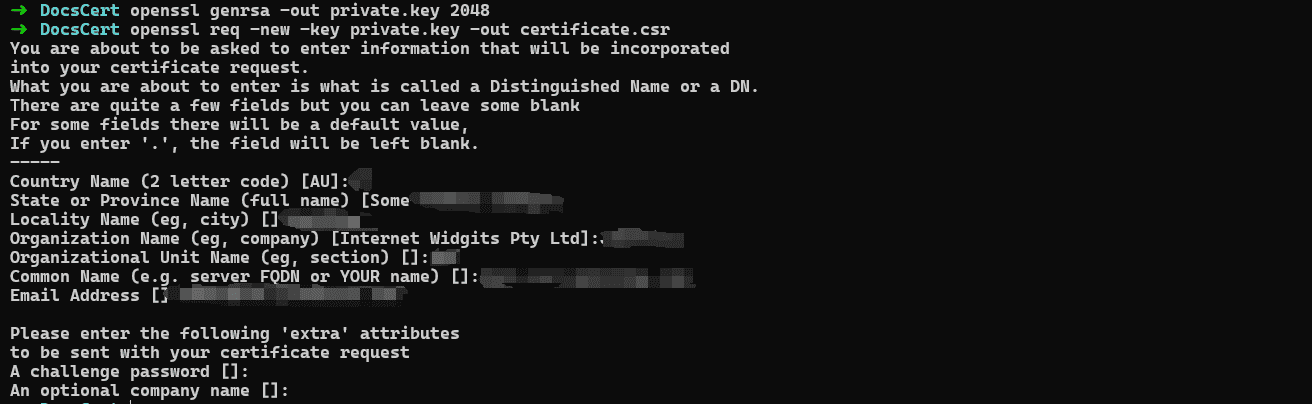
生成证书签名:
1 | openssl x509 -req -days 365 -in certificate.csr -signkey private.key -out certificate.crt |
在配置中添加如下,示例配置
1 | server { |
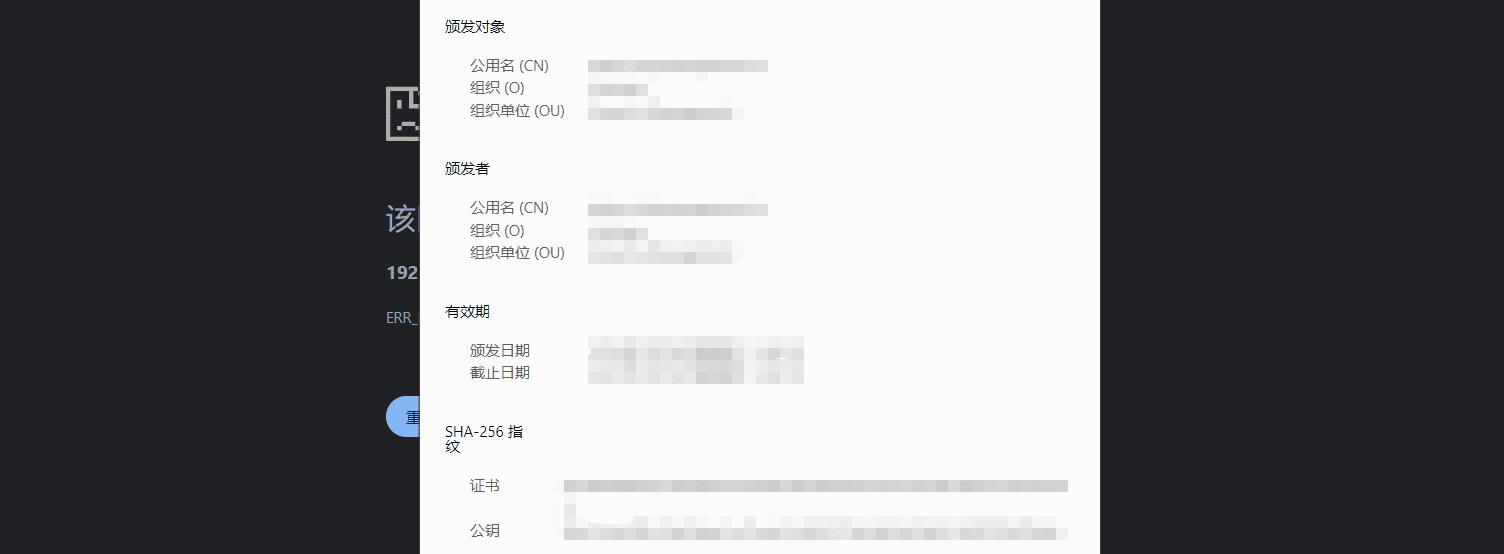
注意事项
如果不想暴露后端证书中的域名,可以为Nginx单独配置一个证书:
1 | openssl genrsa -out private.key 2048 |
1 | openssl req -new -key private.key -out certificate.csr |
生成签名证书:
1 | openssl x509 -req -days 365 -in certificate.csr -signkey private.key -out certificate.crt |
然后将其添加到Nginx配置中去:
1 | server { |
All articles on this blog are licensed under CC BY-NC-SA 4.0 unless otherwise stated.
 wechat
 alipay
Related Articles

2024-12-24
Code-server
发现了一个极其方便的应用,这可要比在宝塔里编辑文件方便很多,发现自己最近在疯狂搞基础设施搭建: 1https://github.com/coder/code-server 使用安装命令: 1curl -fsSL https://code-server.dev/install.sh | sh 就安装好了,真简单,默认配置文件在以下位置: 1~/.config/code-server/config.yaml 配置文件示例: 1234567bind-addr: 0.0.0.0:8080 # Code Server 监听的地址和端口 auth: password # 认证方式,可以是 'password' 或 'none' password: yourpassword # 用于登录的密码 cert: false # 是否使用 HTTPS,默认为 false # cert: /path/to/cert.crt # 如果使用 HTTPS,指定证书路径 # cert-key:...

2024-12-24
Hexo博客站点搭建记录
最近,我的观念发生了一些改变。回顾过去一两年,我在折腾各种环境上花费了太多时间和精力,这让我渐渐偏离了最初的技术研究方向,再者很多基础设施我并没有从一开始用心认证去做,一时兴起占据多数。现在我觉得应该收收心思,少些花里胡哨,多点脚踏实地,决定将个人基础设施踏踏实实的用心做好。我觉得重构博客是一个不错的开始。 环境准备在搭建博客之前最好选择一个适合自己的搭载的博客环境,最开始我是准备在物理机上构建,但是考虑到后续可能会有很多文章内容包含会被杀软查杀的命令代码,所以我使用Hyper-V安装了一台搭载Debian 12操作系统的虚拟机用来搭载我的博客站点。VMware最近一两年在使用过程中总是出现一些莫名其妙的小问题,但是让我个人感觉非常不爽,我更喜欢Hyper-V,虽然两者对于个人用户来说没啥大区别。VMware与Hyper-V其实都不方便复制粘贴的,所以可以开启服务器的SSH服务,便于复制粘贴: 1systemctl start sshd.service Windows 10以后的操作系统命令行已经自带ssh工具了,打开物理机终端输入: 12ssh...
2024-12-24
Hyprland桌面环境构建与美化
最近我尝试了一款名为 Hyprland 的 Linux 桌面环境,这个过程让我折腾了很久。由于对 Linux 底层原理不太了解,加上各种报错让我感到无力,我先后在 Debian、Kali、Parrot 和 Arch Linux 上尝试安装。比较麻烦是来源于它只支持 C++26,而目前 Kali 和 Parrot 只有 g++13,C++26 只有在 Debian 13 测试版和 Arch Linux 系列中可用。虽然尝试在 Debian 上从零构建,但总是因为一些未知原因报错,而 Arch Linux 则相对容易构建。然而,在日常工作和学习中,各种工具环境的报错让人头疼,尽管有文档支持。 在 Arch 使用一段时间后,我渐渐的喜欢上了它,但紧接着就遇到了问题,一些工具报错甚至没有错误日志,只显示白屏。但是我仍然不想换回 Windows,因为我选择的笔记本似乎真的是为程序员设计的,装 Windows 时会出现死机和音箱破音的问题,而在 Linux 下这些问题都没有。 尽管心灰意冷,我准备结束折腾之路,老老实实换回 Kali,但 Kali 安装其他软件时的依赖问题也让我头疼,尤其是...
Comments