# 子标题 subtitle: enable:true # Typewriter Effect effect:true # Customize typed.js # https://github.com/mattboldt/typed.js/#customization typed_option: # Source - Call the third-party service API (Chinese only) # It will show the source first, then show the content of sub # Choose: false/1/2/3 # false - disable the function # 1 - hitokoto.cn # 2 - yijuzhan.com # 3 - jinrishici.com source:false # If you close the typewriter effect, the subtitle will only show the first line of sub sub: -今日事,今日畢 -Neverputofftilltomorrowwhatyoucandotoday # 页面布局 index_layout:3
# Displays outdated notice for a post noticeOutdate: enable:false # Style: simple / flat style:flat # When will it be shown limit_day:365 # Position: top / bottom position:top message_prev:Ithasbeen message_next:dayssincethelastupdate,thecontentofthearticlemaybeoutdated.
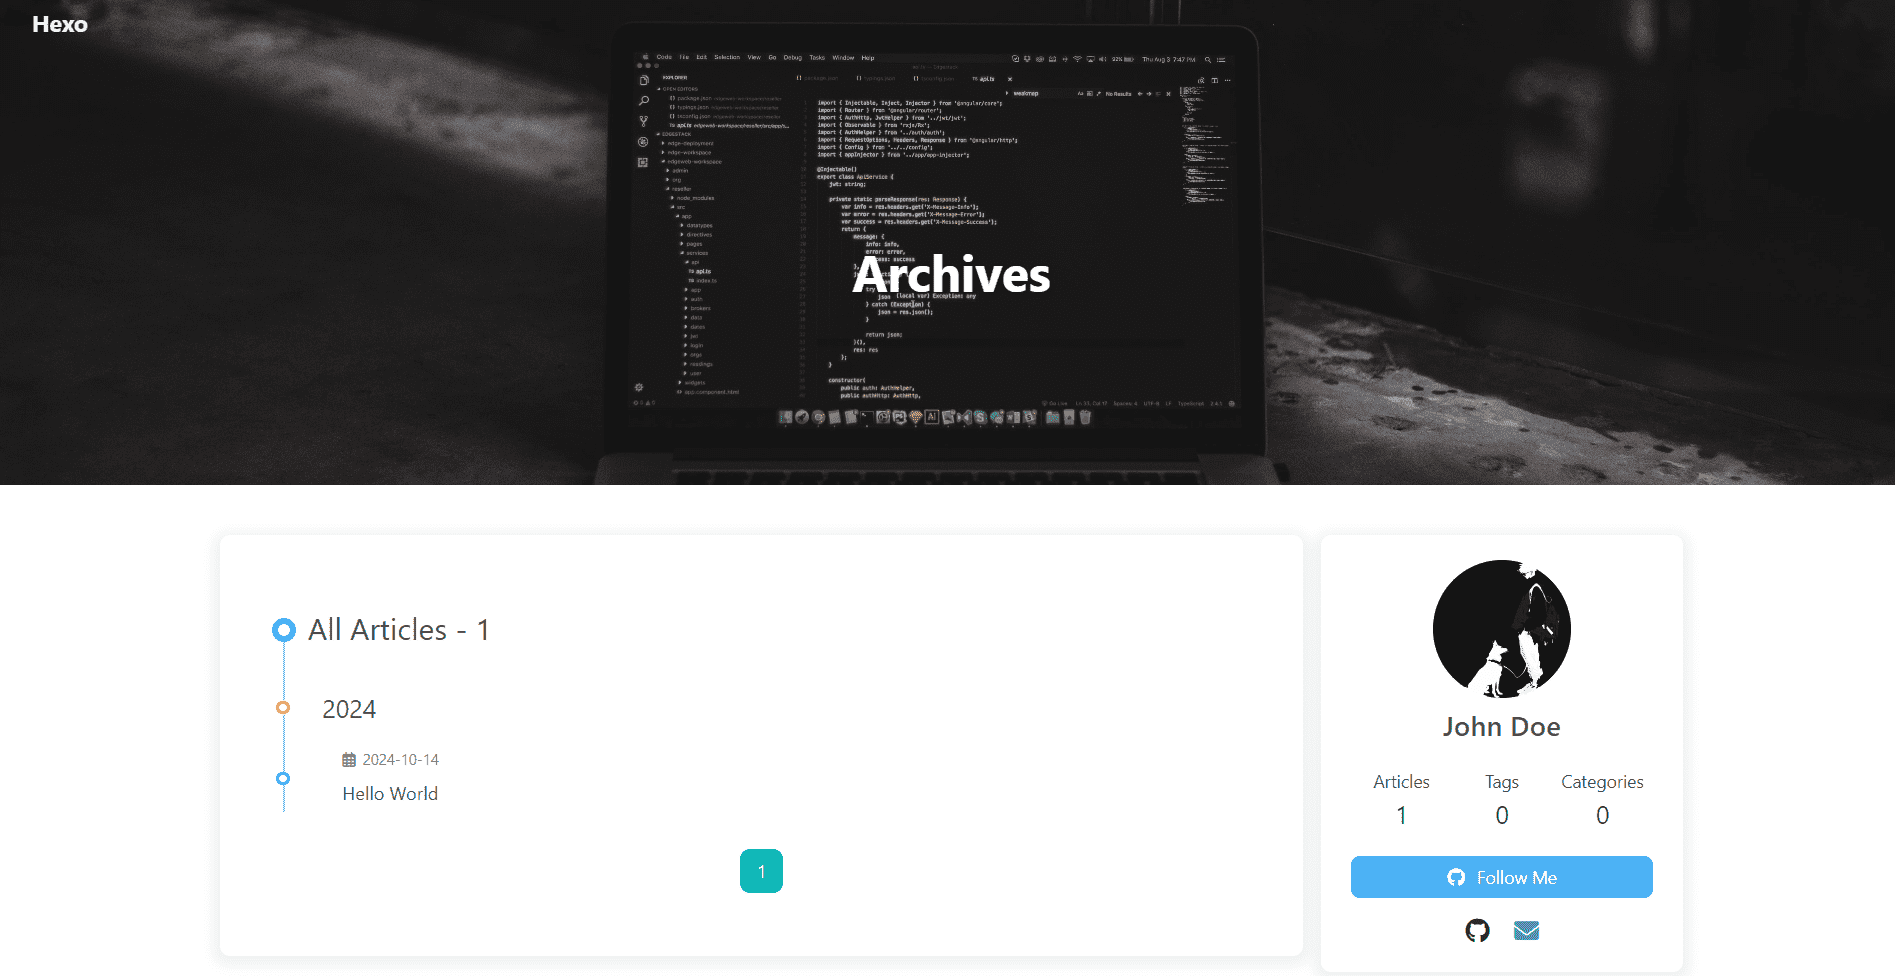
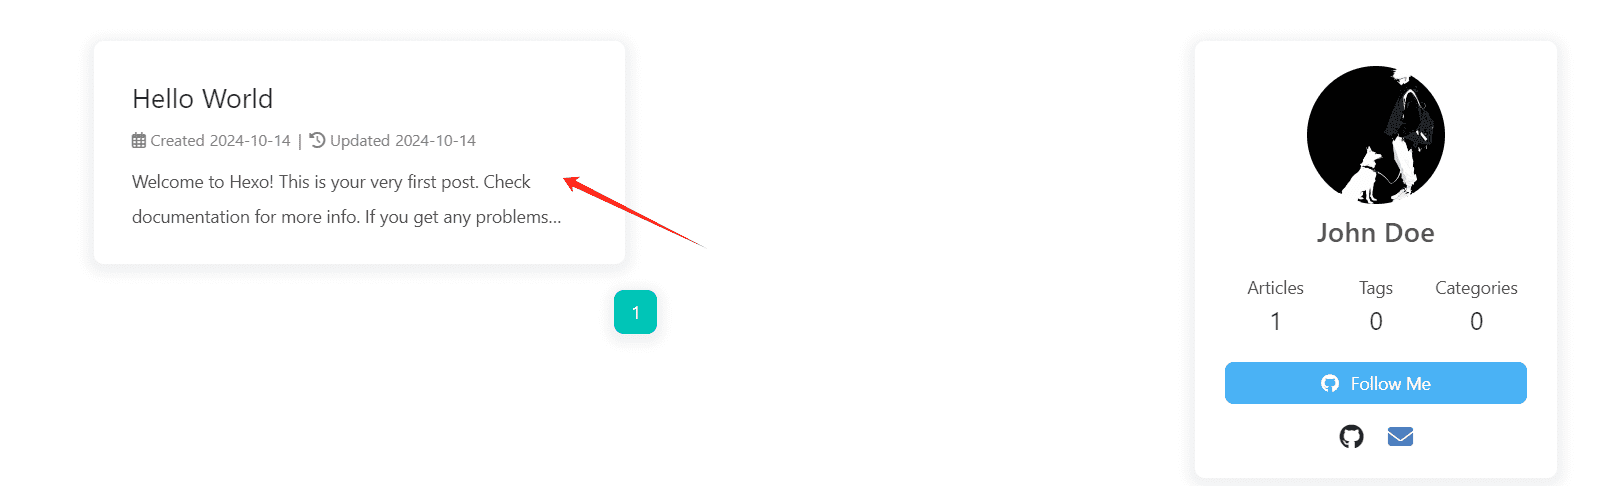
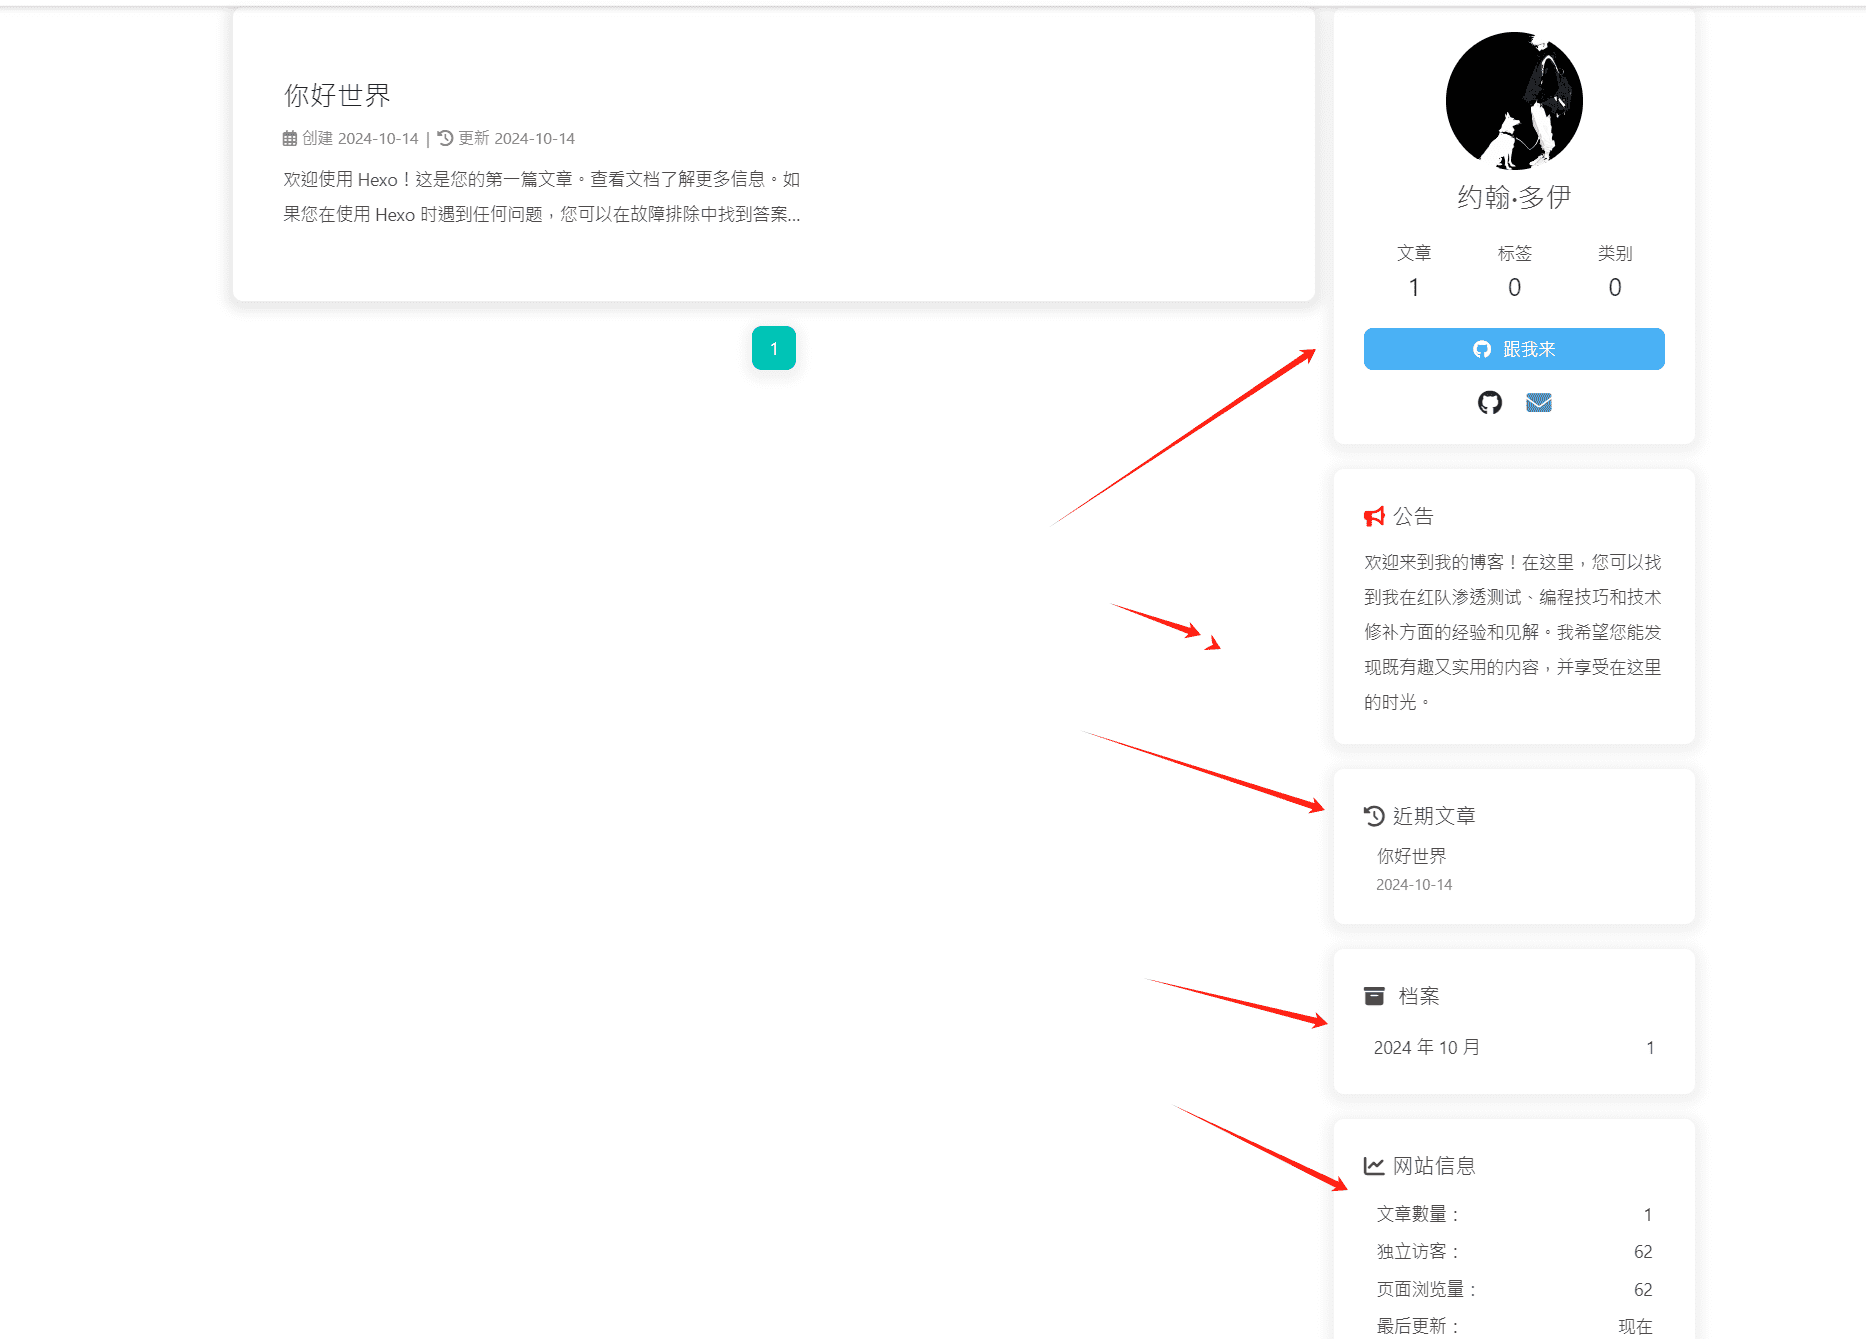
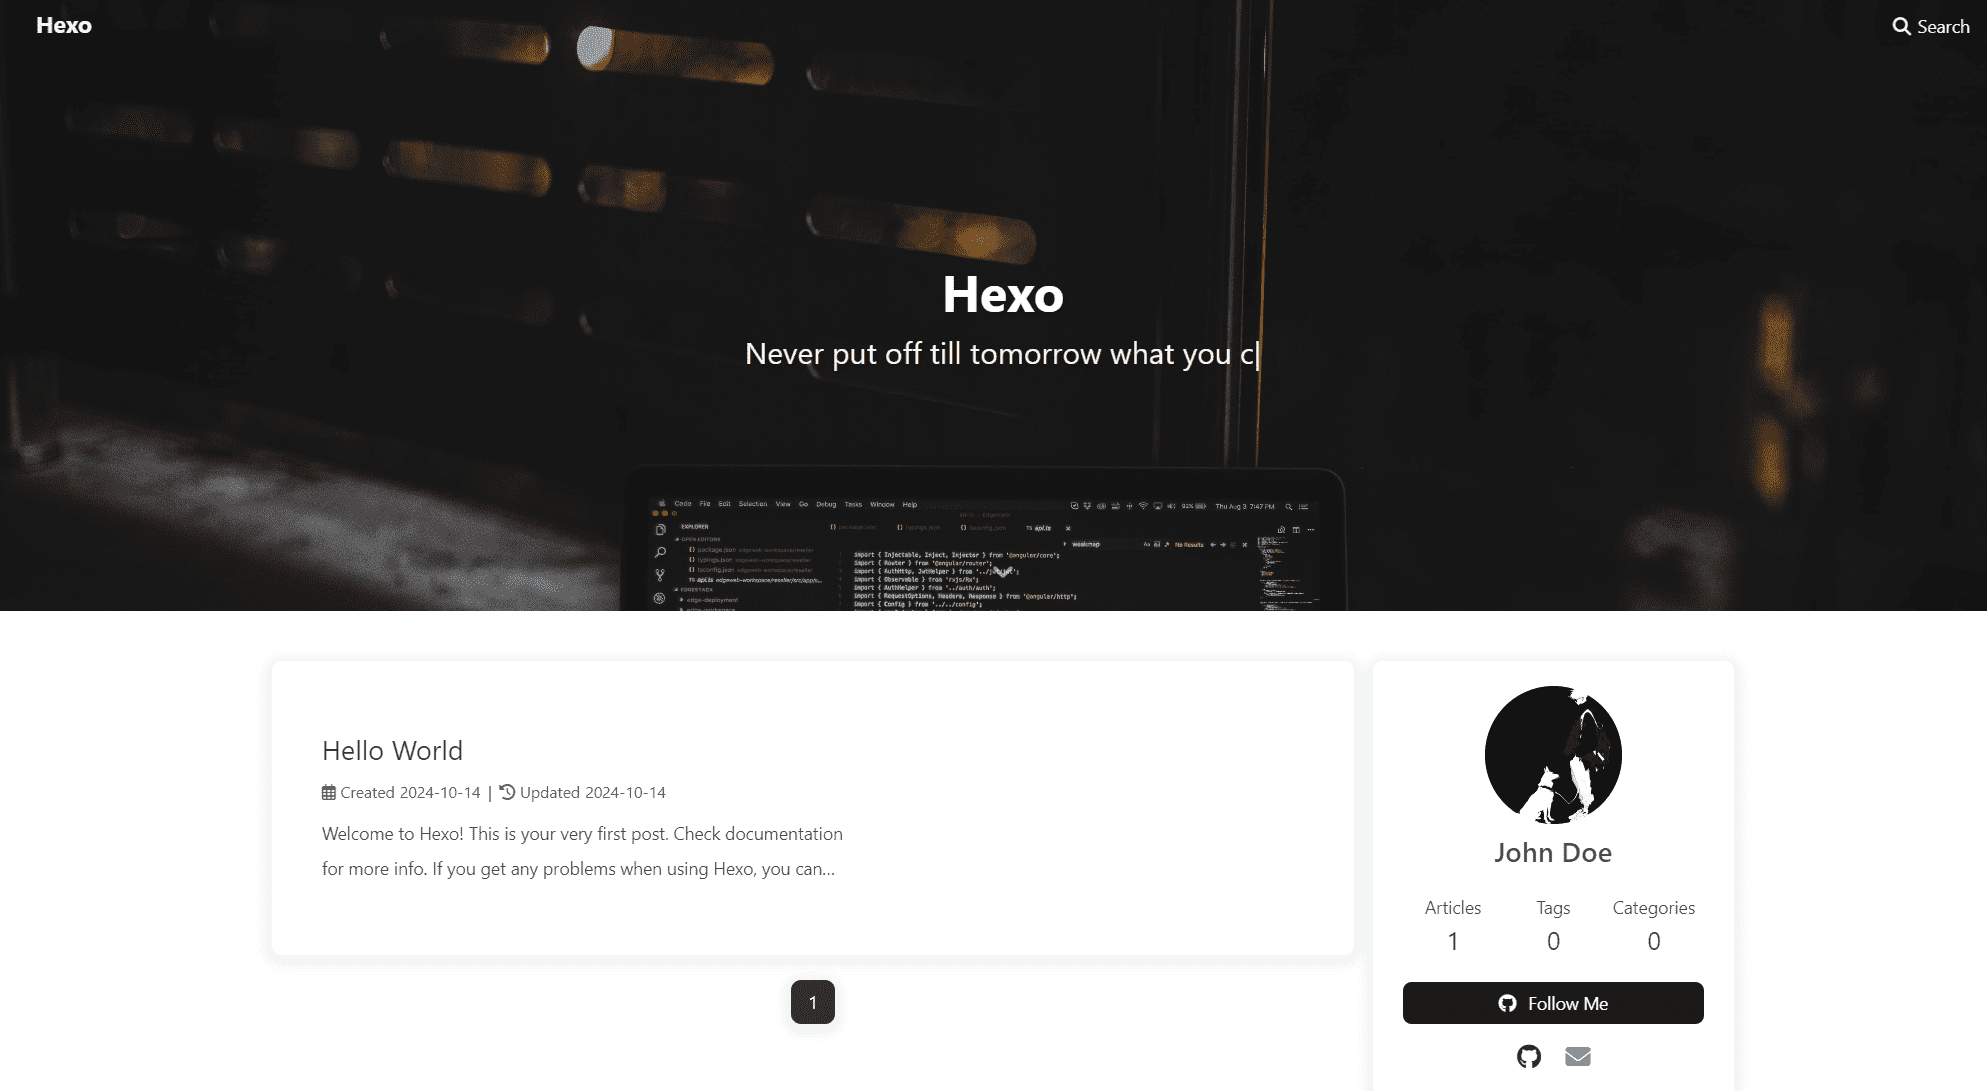
# 主要开关控制,是否开启,显示左边 or 右边 aside: enable:true hide:false # Show the button to hide the aside in bottom right button button:true mobile:true # Position: left / right position:right # 分页显示开关控制,是否在archive、tag、category页面显示个人侧边栏 display: archive:true tag:true category:true # 这里是侧边栏上要显示什么 # 这是作者头像那一块 card_author: enable:true description: button: enable:true icon:fabfa-github text:FollowMe link:https://github.com/Anneballa # 是否显示公告栏 card_announcement: enable:true content:Welcometomyblog!Here,you'llfindacollectionofmyexperiencesandinsightsinredteampenetrationtesting,programmingtips,andtechtinkering.Ihopeyoudiscovercontentthat'sbothintriguingandpractical,andthatyouenjoyyourtimehere. # 是否显示最新文章 card_recent_post: enable:true # 显示的数量 limit:3 # 排序方式 date / updated sort:date sort_order: # 是否显示评论 card_newest_comments: enable:true sort_order: limit:6 # Unit: mins, save data to localStorage storage:10 avatar:true # 是否显示分类卡片 card_categories: enable:true # If set 0 will show all limit:8 # Choose: none / true / false expand:none sort_order: # 是否显示标签页面 card_tags: enable:true # If set 0 will show all limit:40 color:false # Order of tags, random/name/length orderby:random # Sort of order. 1, asc for ascending; -1, desc for descending order:1 sort_order: # 是否显示归档页面 card_archives: enable:true # Type: monthly / yearly type:monthly # Eg: YYYY年MM月 format:MMMMYYYY # Sort of order. 1, asc for ascending; -1, desc for descending order:-1 # If set 0 will show all limit:8 sort_order: # 是否显示文章系列 card_post_series: enable:true # The title shows the series name series_title:false # Order by title or date orderBy:'date' # Sort of order. 1, asc for ascending; -1, desc for descending order:-1 #是否显示网站信息 card_webinfo: enable:true post_count:true last_push_date:true sort_order: # Time difference between publish date and now # Formal: Month/Day/Year Time or Year/Month/Day Time # Leave it empty if you don't enable this feature runtime_date:
# dark mode darkmode: enable:true # dark mode和 light mode切換按鈕 button:true autoChangeMode:true # Set the light mode time. The value is between 0 and 24. If not set, the default value is 6 and 18 start:# 8 end:# 22
滚动条百分比
1
rightside_scroll_percent:true
复制功能,维护自己的版权嘛:
1 2 3 4 5 6
copy: enable:true
copyright: enable:true limit_count:150
字数统计
统计博客文章字数,需要安装插件:
1
npm install hexo-wordcount --save
然后在主题配置文件中开启,分别为文章页面显示字数、阅读时间,在侧边栏提示网站总字数:
1 2 3 4 5 6
# Need to install the hexo-wordcount plugin wordcount: enable:true post_wordcount:true min2read:true total_wordcount:true
search: # Choose: algolia_search / local_search / docsearch # leave it empty if you don't need search use:local_search placeholder:
# Local Search local_search: # Preload the search data when the page loads. preload:true # Show top n results per article, show all results by setting to -1 top_n_per_article:1 # Unescape html strings to the readable one. unescape:true CDN:
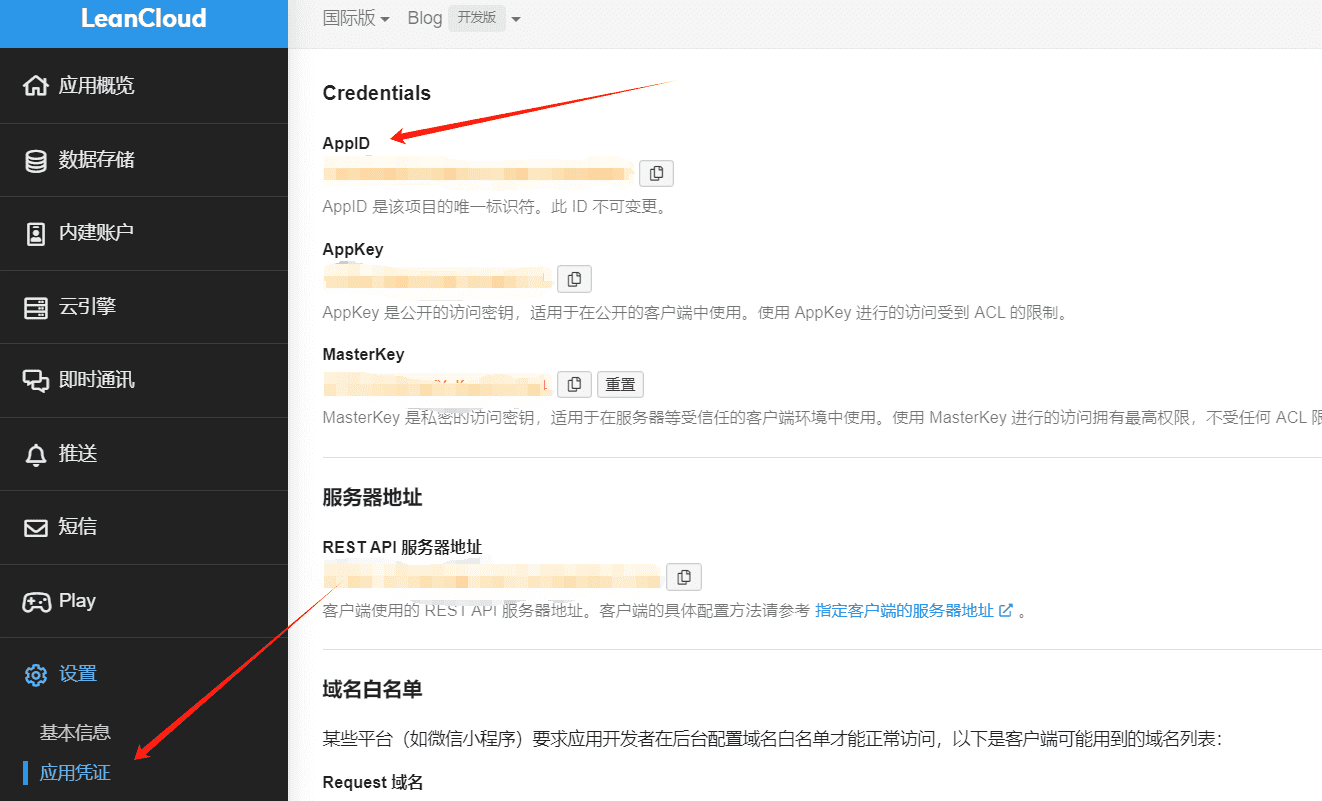
valine: appId: appKey: avatar:monsterid # This configuration is suitable for domestic custom domain name users, overseas version will be automatically detected (no need to manually fill in) serverURLs: bg: # Use Valine visitor count as the page view count visitor:false option:
# https://github.com/vinta/pangu.js # Insert a space between Chinese character and English character (中英文之間添加空格) pangu: enable:true field:post# site/post
背景音乐
添加插件:
1
npm install --save hexo-tag-aplayer
在hexo的配置文件中:
1
2
3
aplayer: meting:true asset_inject:false
在主题配置文件中,enable设为true和per_page设为true:
1 2 3 4
# Inject the css and script (aplayer/meting) aplayerInject: enable:true per_page:true
# URL ## Set your site url here. For example, if you use GitHub Page, set url as 'https://username.github.io/project' url:https://anneballa.github.io/ permalink:posts/:hash/#改成posts/:hash permalink_defaults: pretty_urls: trailing_index:true# Set to false to remove trailing 'index.html' from permalinks trailing_html:true# Set to false to remove trailing '.html' from permalinks
Welcome to my blog! Here, you'll find a collection of my experiences and insights in red team penetration testing, programming tips, and tech tinkering. I hope you discover content that's both intriguing and practical, and that you enjoy your time here.


 wechat
 alipay