前段时间为了搭建Tailscale组网方案,又为了一些便利,在香港租用了一台云服务器,性价比还可以,4H8G、40GB固态硬盘、30Mbs带宽,但是我只在上边部署了Tailscale用作出口节点感觉好浪费。所以在想如何压榨一下服务器的性能负载。
基本环境部署 首先是运维面板,我还是选择了宝塔国际版,因为这版没有广告:
1 https://www.aapanel.com/
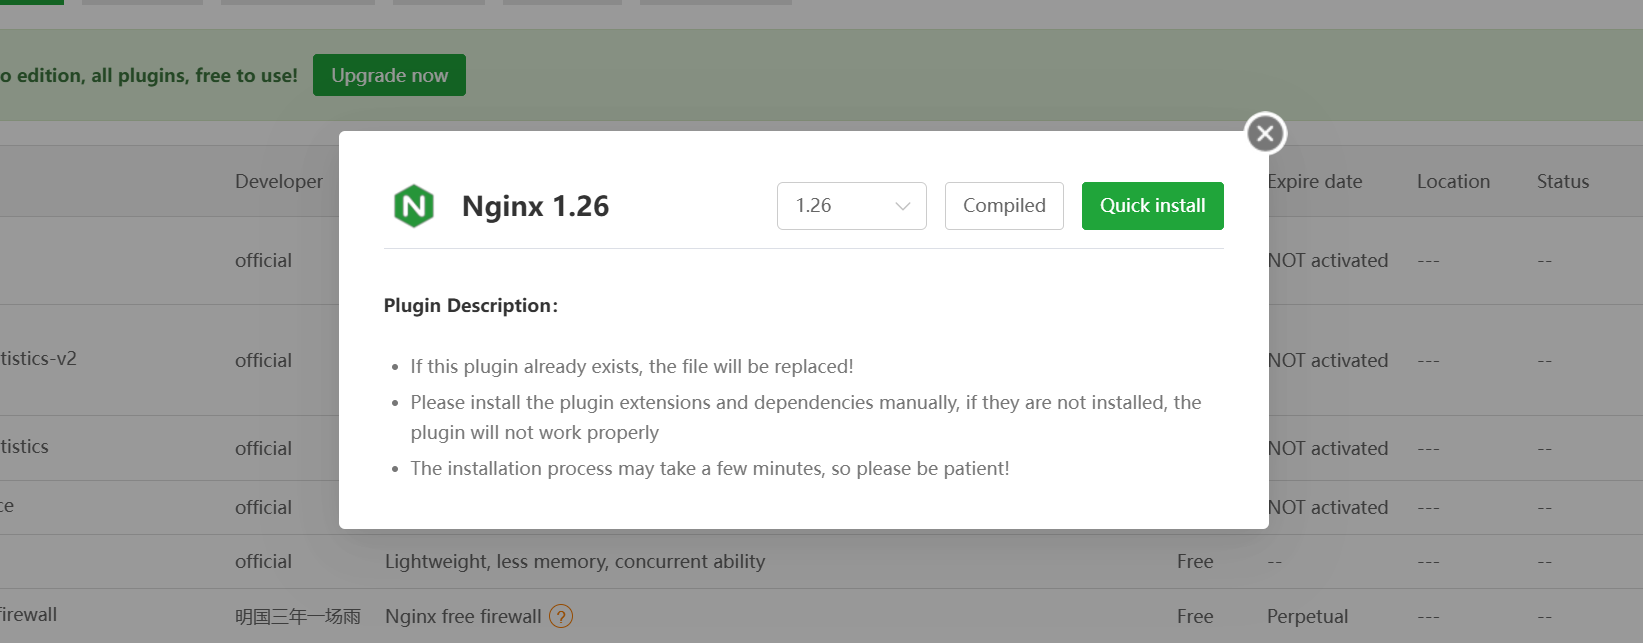
建议就在以上地址找到的安装脚本进行安装,其他地方找到的哪怕是 bt.cn 上的都别用,有坑。使用aapanel可以很方便的编译安装nginx,我这里选择1.26稳定版本的nginx。
服务器优化 网络核心优化 编辑 /etc/sysctl.conf ,添加以下参数 ,这可以满足我的日常VPN使用谷歌,docker镜像进行更新等等:
1 2 3 4 5 6 net.core.default_qdisc=fq net.ipv4.tcp_congestion_control=bbr
优点:
VPN延迟降低,特别是Tailscale连接更流畅
视频加载更快,减少缓冲
弱网环境下(如4G/5G)传输更稳定
下载速度提升
缺点:
可能略微增加CPU使用率
在某些特殊网络环境下可能不如默认的cubic算法
理论上会增加服务器端的负载(但影响很小)
再添加TCP缓冲区配置:
1 2 3 4 5 6 net.core.rmem_max=16777216 net.core.wmem_max=16777216 net.core.rmem_default=262144 net.core.wmem_default=262144 net.core.optmem_max=65536
作用:
默认值(262144)适合日常网页浏览和聊天
最大值(16MB)确保看4K视频时不卡顿
给AWVS扫描预留足够缓冲空间
系统资源占用保持在合理范围
缺点:
如果大量连接同时使用最大缓冲区,可能会突然占用较多内存
对于8GB内存的系统来说需要注意监控
TCP内存分配的限制:
1 2 3 4 net.ipv4.tcp_rmem=4096 131072 16777216 net.ipv4.tcp_wmem=4096 131072 16777216 net.ipv4.tcp_mem=262144 524288 786432
优点
最小值(4096)保证基本连接质量
默认值(131072)满足日常使用
最大值动态调整:
看视频时自动增加到更大值
普通浏览时自动降低
系统空闲时释放多余内存
内存使用上限(786432)约768MB,确保:
AWVS等工具有足够内存可用
系统不会因网络连接耗尽内存
整体系统保持稳定
缺点
可能会限制极限下载速度(但对普通使用影响不大)
多个大文件并发传输时可能会受到限制
内存上限可能影响某些特殊的高并发场景
VPN和连接优化 有时候会先拨tailscale设置出口节点,再链接Offsec、HTB靶机的场景,所以针对VPN链接也进行了优化:
1 2 3 4 5 6 7 8 9 net.ipv4.ip_forward=1 net.ipv4.conf.all.accept_redirects=0 net.ipv4.conf.all.send_redirects=0 net.ipv4.conf.default.accept_redirects=0 net.ipv4.conf.default.send_redirects=0
优点:
允许VPN流量转发
提升Tailscale连接性能
增强网络安全性
潜在问题:
连接优化配置:
1 2 3 4 5 6 net.ipv4.tcp_fastopen=3 net.ipv4.tcp_slow_start_after_idle=0 net.ipv4.tcp_max_tw_buckets=65536 net.ipv4.tcp_tw_reuse=1 net.ipv4.tcp_fin_timeout=15
优点:
TCP快速打开减少连接延迟
提升网页打开速度
改善视频加载体验
TIME_WAIT状态管理更高效
端口复用提高效率
缺点:
tcp_fastopen在某些网络环境可能引起连接问题
tw_reuse可能在特殊情况下导致数据包混淆
部分老旧设备可能不兼容
1 2 3 4 5 net.core.somaxconn=4096 net.core.netdev_max_backlog=4096 net.ipv4.tcp_max_syn_backlog=4096 net.ipv4.tcp_syncookies=1
好处:
提升并发连接处理能力
改善高负载下的网络性能
防止SYN泛洪攻击
适合安全扫描工具使用
潜在问题:
占用更多系统内存
可能增加CPU负载
在低配置系统上可能影响性能
系统资源优化 1 2 3 4 5 6 7 8 9 10 11 12 13 14 net.ipv4.ip_local_port_range=32768 65535 vm.swappiness=10 vm.vfs_cache_pressure=50 vm.dirty_ratio=40 vm.dirty_background_ratio=10
优点:
swappiness=10:
减少使用swap频率
提升系统响应速度
保护SSD寿命
内存使用更积极
vfs_cache_pressure=50:
平衡文件系统缓存
提升文件访问速度
合理利用空闲内存
缺点:
swappiness过低可能在内存压力大时导致OOM
需要确保物理内存够用
可能影响某些需要大量缓存的应用
还有一些小组件:
1 2 3 4 5 apt install tuned tuned-adm profile virtual-guest
使用以下命令:
确认当前使用的优化配置是 virtual-guest :
1 Current active profile: virtual-guest
部署安装Tailscale,加这条是因为我云服务器有IPV6支持:
1 echo 'net.ipv6.conf.all.forwarding = 1' | sudo tee -a /etc/sysctl.conf
使用命令让配置进行生效:
1 sudo sysctl -p /etc/sysctl.conf
到Tailscale管理端生成linux-server的部署脚本:
1 curl -fsSL https://tailscale.com/install.sh | sh && sudo tailscale up --auth-key=tskey-auth-xxxxxxxxxx --advertise-exit-node
优化SSH自动断开的问题:
1 sudo nano /etc/ssh/sshd_config
添加以下内容:
1 2 3 4 5 6 ClientAliveInterval 60 ClientAliveCountMax 120 TCPKeepAlive yes MaxSessions 30 MaxStartups 30:50:100 LoginGraceTime 2m
节点优化 部署 GO 环境:
1 2 3 4 5 6 7 8 9 10 11 12 13 14 15 16 17 18 19 wget https://go.dev/dl/go1.23.3.linux-amd64.tar.gz sudo rm -rf /usr/local/go sudo tar -C /usr/local -xzf go1.23.3.linux-amd64.tar.gz echo 'export PATH=$PATH:/usr/local/go/bin' >> ~/.bashrc echo 'export GOPATH=$HOME/go' >> ~/.bashrc echo 'export PATH=$PATH:$GOPATH/bin' >> ~/.bashrc source ~/.bashrc go version
安装derper:
1 go install tailscale.com/cmd/derper@latest
这里因为443端口被nginx占用了,所以需要进行更改:
1 derper -hostname "your_domain" -a ":YOUR_PORT" -certmode "manual" -certdir "/your/path" -http-port -1 --verify-clients
创建服务:
1 2 3 4 5 6 7 8 9 10 11 12 13 [Unit] Description=Tailscale DERP Server After=network.target [Service] User=root Restart=always RestartSec=5 ExecStart=$HOME /go/bin/derper -hostname "your_domain" -a ":YOUR_PORT" -certmode "manual" -certdir "/your/path" -http-port -1 --verify-clients ExecStop=/bin/kill $MAINPID [Install] WantedBy=multi-user.target
设置开机自启:
接下来到官网管理面板对ACL进行配置,主要为了防止节点端口被别人恶意爆破攻击,以下设置只允许您账号下的设备访问该节点:
1 2 3 4 5 6 7 8 "acls" : [ // Allow all connections. // Comment this section out if you want to define specific restrictions. { "action" : "accept" , "src" : ["your_email@.com" ], "dst" : ["*:*" ], },
节点配置:
1 2 3 4 5 6 7 8 9 10 11 12 13 "901" : { "RegionID" : 901, // tailscale 900-999 是保留给自定义 derper 的 "RegionCode" : "myderp1" , "RegionName" : "myderp1" , // 这俩随便命名 "Nodes" : [ { "Name" : "2" , "RegionID" : 901, "HostName" : "Your_Domain:Port" , "InsecureForTests" : true , // 因为是自签名证书,所以客户端不做校验 }, ], },
Nginx优化 aapanel 因为我要使用nginx对我后方的站点进行反向代理,对端口占用有部分优化调整需求,先对aapanel面板进行优化:
基础服务器配置 :
这部分定义了服务器监听的端口和域名。使用443是因为这是HTTPS的标准端口:
1 2 3 server { listen 443 ssl http2; server_name your domain;
SSL证书配置 :
1 2 3 4 ssl_certificate /your/path/pem.cer; ssl_certificate_key /your/path/pem.key; ssl_protocols TLSv1.2 TLSv1.3; ssl_ciphers ECDHE-ECDSA-AES128-GCM-SHA256:...
这部分确保HTTPS连接安全:
只使用TLS1.2和1.3(更安全的协议版本)
使用强加密算法
禁用了不安全的旧版本
安全头信息 :
1 2 3 4 5 6 7 8 9 10 11 add_header Strict-Transport-Security "max-age=63072000" always; add_header X-Frame-Options SAMEORIGIN; add_header X-Content-Type-Options nosniff; add_header X-XSS-Protection "1; mode=block" ;
反向代理配置 :
1 2 3 4 5 6 7 8 9 10 11 12 13 14 15 16 17 18 19 20 21 22 23 location / { proxy_pass http://127.0.0.1:14398; proxy_set_header Host $host ; proxy_set_header X-Real-IP $remote_addr ; proxy_set_header X-Forwarded-For $proxy_add_x_forwarded_for ; proxy_set_header X-Forwarded-Proto $scheme ; proxy_http_version 1.1; proxy_set_header Upgrade $http_upgrade ; proxy_set_header Connection "upgrade" ; proxy_connect_timeout 300s; proxy_send_timeout 300s; proxy_read_timeout 300s; proxy_no_cache 1; add_header Cache-Control no-store; }
1 2 3 4 5 error_page 502 503 504 /50x.html; location = /50x.html { root /www/server/nginx/html; }
日志配置 :
1 2 access_log /www/wwwlogs/xxx.log combined; error_log /www/wwwlogs/xxx.error.log warn;
Code-server 再以Code-server 为例,安装部署Code-server:
1 curl -fsSL https://code-server.dev/install.sh | sh
然后编辑nginx文件。
基本配置 :
1 2 3 4 5 server { listen 443 ssl http2; server_name your_code_server; }
SSL 优化配置 :
1 2 3 4 5 6 7 8 9 10 11 12 13 14 15 16 17 18 19 20 21 22 23 ssl_certificate /your/PATH/pem.crt; ssl_certificate_key /your/PATH/pem.key; ssl_session_timeout 1d; ssl_session_cache shared:SSL:10m; ssl_session_tickets off; ssl_protocols TLSv1.2 TLSv1.3; ssl_ciphers ECDHE-ECDSA-AES128-GCM-SHA256:ECDHE-RSA-AES128-GCM-SHA256:ECDHE-ECDSA-AES256-GCM-SHA384:ECDHE-RSA-AES256-GCM-SHA384:ECDHE-ECDSA-CHACHA20-POLY1305:ECDHE-RSA-CHACHA20-POLY1305; ssl_prefer_server_ciphers off; ssl_session_timeout 1d; ssl_session_cache shared:SSL:10m; ssl_session_tickets off; add_header Strict-Transport-Security "max-age=3600" always;
反向代理配置 :
1 2 3 4 5 6 7 8 9 10 11 12 13 14 15 16 17 18 19 20 21 22 23 location / { proxy_pass http://127.0.0.1:8000; proxy_set_header Host $host ; proxy_set_header X-Real-IP $remote_addr ; proxy_set_header X-Forwarded-For $proxy_add_x_forwarded_for ; proxy_set_header X-Forwarded-Proto $scheme ; proxy_http_version 1.1; proxy_set_header Upgrade $http_upgrade ; proxy_set_header Connection "upgrade" ; proxy_connect_timeout 60s; proxy_send_timeout 60s; proxy_read_timeout 60s; proxy_buffer_size 16k; proxy_buffers 4 16k; }
安全头配置:
1 2 3 4 5 6 7 8 9 add_header X-Frame-Options "SAMEORIGIN" always; add_header X-XSS-Protection "1; mode=block" always; add_header X-Content-Type-Options "nosniff" always; add_header Referrer-Policy "no-referrer-when-downgrade" always; error_page 404 /404.html; error_page 500 502 503 504 /50x.html;
接下来才是优化的地方。
数据传输量优化 :
1 2 3 4 5 6 7 8 gzip on; gzip_min_length 1k; gzip_comp_level 4; gzip_types text/plain text/css application/json application/javascript text/xml application/xml application/xml+rss text/javascript; gzip_vary on; gzip_proxied any; gzip_disable "MSIE [1-6]\." ;
gzip 压缩可以显著减少传输数据量。
缓存优化 :
1 2 3 4 5 6 7 8 9 10 11 12 13 14 15 16 location /static/ { expires 30d; add_header Cache-Control "public, no-transform" ; } location /assets/ { expires 30d; add_header Cache-Control "public, no-transform" ; } location ~ \.(html|htm)$ { expires -1; add_header Cache-Control "no-cache" ; }
合理的缓存策略提升访问速度。
客户端限制 :
1 2 3 4 5 6 7 8 client_max_body_size 50m; client_body_buffer_size 256k; client_body_timeout 60s; client_header_timeout 60s; keepalive_timeout 65s;
上传限制防止服务器压力过大,防止上传大文件卡死。
Buffer 优化 :
1 2 3 4 proxy_buffering on; proxy_buffer_size 16k; proxy_buffers 8 8k;
缓冲区设置优化传输效率。
错误页面 :
1 2 3 4 5 6 error_page 502 /502.html; location = /502.html { root /usr/share/nginx/html; internal; }
自定义错误页面提升用户体验。完整配置示例:
1 2 3 4 5 6 7 8 9 10 11 12 13 14 15 16 17 18 19 20 21 22 23 24 25 26 27 28 29 30 31 32 33 34 35 36 37 38 39 40 41 42 43 44 45 46 47 48 49 50 51 52 53 54 55 56 57 58 59 60 61 62 63 64 65 66 67 http { include mime.types; default_type application/octet-stream; log_format main '$remote_addr - $remote_user [$time_local] "$request" ' '$status $body_bytes_sent "$http_referer" ' '"$http_user_agent" "$http_x_forwarded_for"' ; client_body_buffer_size 128k; client_max_body_size 100m; client_header_buffer_size 32k; large_client_header_buffers 4 32k; proxy_buffering on; proxy_buffers 8 16k; proxy_buffer_size 32k; proxy_busy_buffers_size 64k; proxy_temp_file_write_size 64k; sendfile on; tcp_nopush on; tcp_nodelay on; keepalive_timeout 65; server { listen 443 ssl; http2 on; server_name your.domain.com; ssl_certificate /path/to/cert.pem; ssl_certificate_key /path/to/key.pem; ssl_protocols TLSv1.2 TLSv1.3; ssl_ciphers HIGH:!aNULL:!MD5; location / { proxy_pass http://localhost:8080; proxy_set_header Host $host ; proxy_set_header Upgrade $http_upgrade ; proxy_set_header Connection "upgrade" ; proxy_set_header Accept-Encoding gzip; proxy_set_header X-Real-IP $remote_addr ; proxy_set_header X-Forwarded-For $proxy_add_x_forwarded_for ; proxy_set_header X-Forwarded-Proto $scheme ; proxy_http_version 1.1; proxy_buffering off; proxy_read_timeout 86400; proxy_send_timeout 86400; proxy_connect_timeout 60s; } } }
这些优化很多如果也想适用于其他站点,可以写到server监听的上一级 http{ } 下做全局配置。
使用建议:
先测试基本配置
逐步添加优化项
观察系统资源使用情况
根据实际使用体验调整参数
注意:
参数值可以根据你的服务器配置调整
不要盲目设置过大的值
可以使用 nginx -t 测试配置
修改后用 systemctl reload nginx 重新加载
这样配置后,你的 code-server 应该能获得:
更快的访问速度
更好的移动设备支持
更稳定的连接
更好的资源利用
然后对code-server配置文件进行更改:
1 vim $HOME /.config/code-server/config.yaml
1 2 3 4 5 6 7 8 9 bind-addr: 127.0 .0 .1 :8000 auth: password password: ****************** cert: false user-data-dir: $HOME/.local/share/code-server extensions-dir: $HOME/.local/share/code-server/extensions disable-telemetry: true disable-update-check: true disable-workspace-trust: true
适合个人使用的温和配置
添加开机启动:
1 sudo vim /etc/systemd/system/code-server.service
1 2 3 4 5 6 7 8 9 10 11 12 13 14 15 16 17 18 19 20 21 22 23 24 25 26 27 28 29 30 31 [Service] User=your_user Group=your_user MemoryMax=2G MemoryHigh=1.5G MemoryLow=512M CPUQuota=150% CPUWeight=100 Environment=HOME=/your_user Environment=PATH=/usr/local/sbin:/usr/local/bin:/usr/sbin:/usr/bin:/sbin:/bin Environment=NODE_OPTIONS=--max-old-space-size=1024 ExecStart=/usr/bin/code-server Restart=always RestartSec=10
添加到开机启动:
1 sudo systemctl enable code-server

 wechat
 alipay